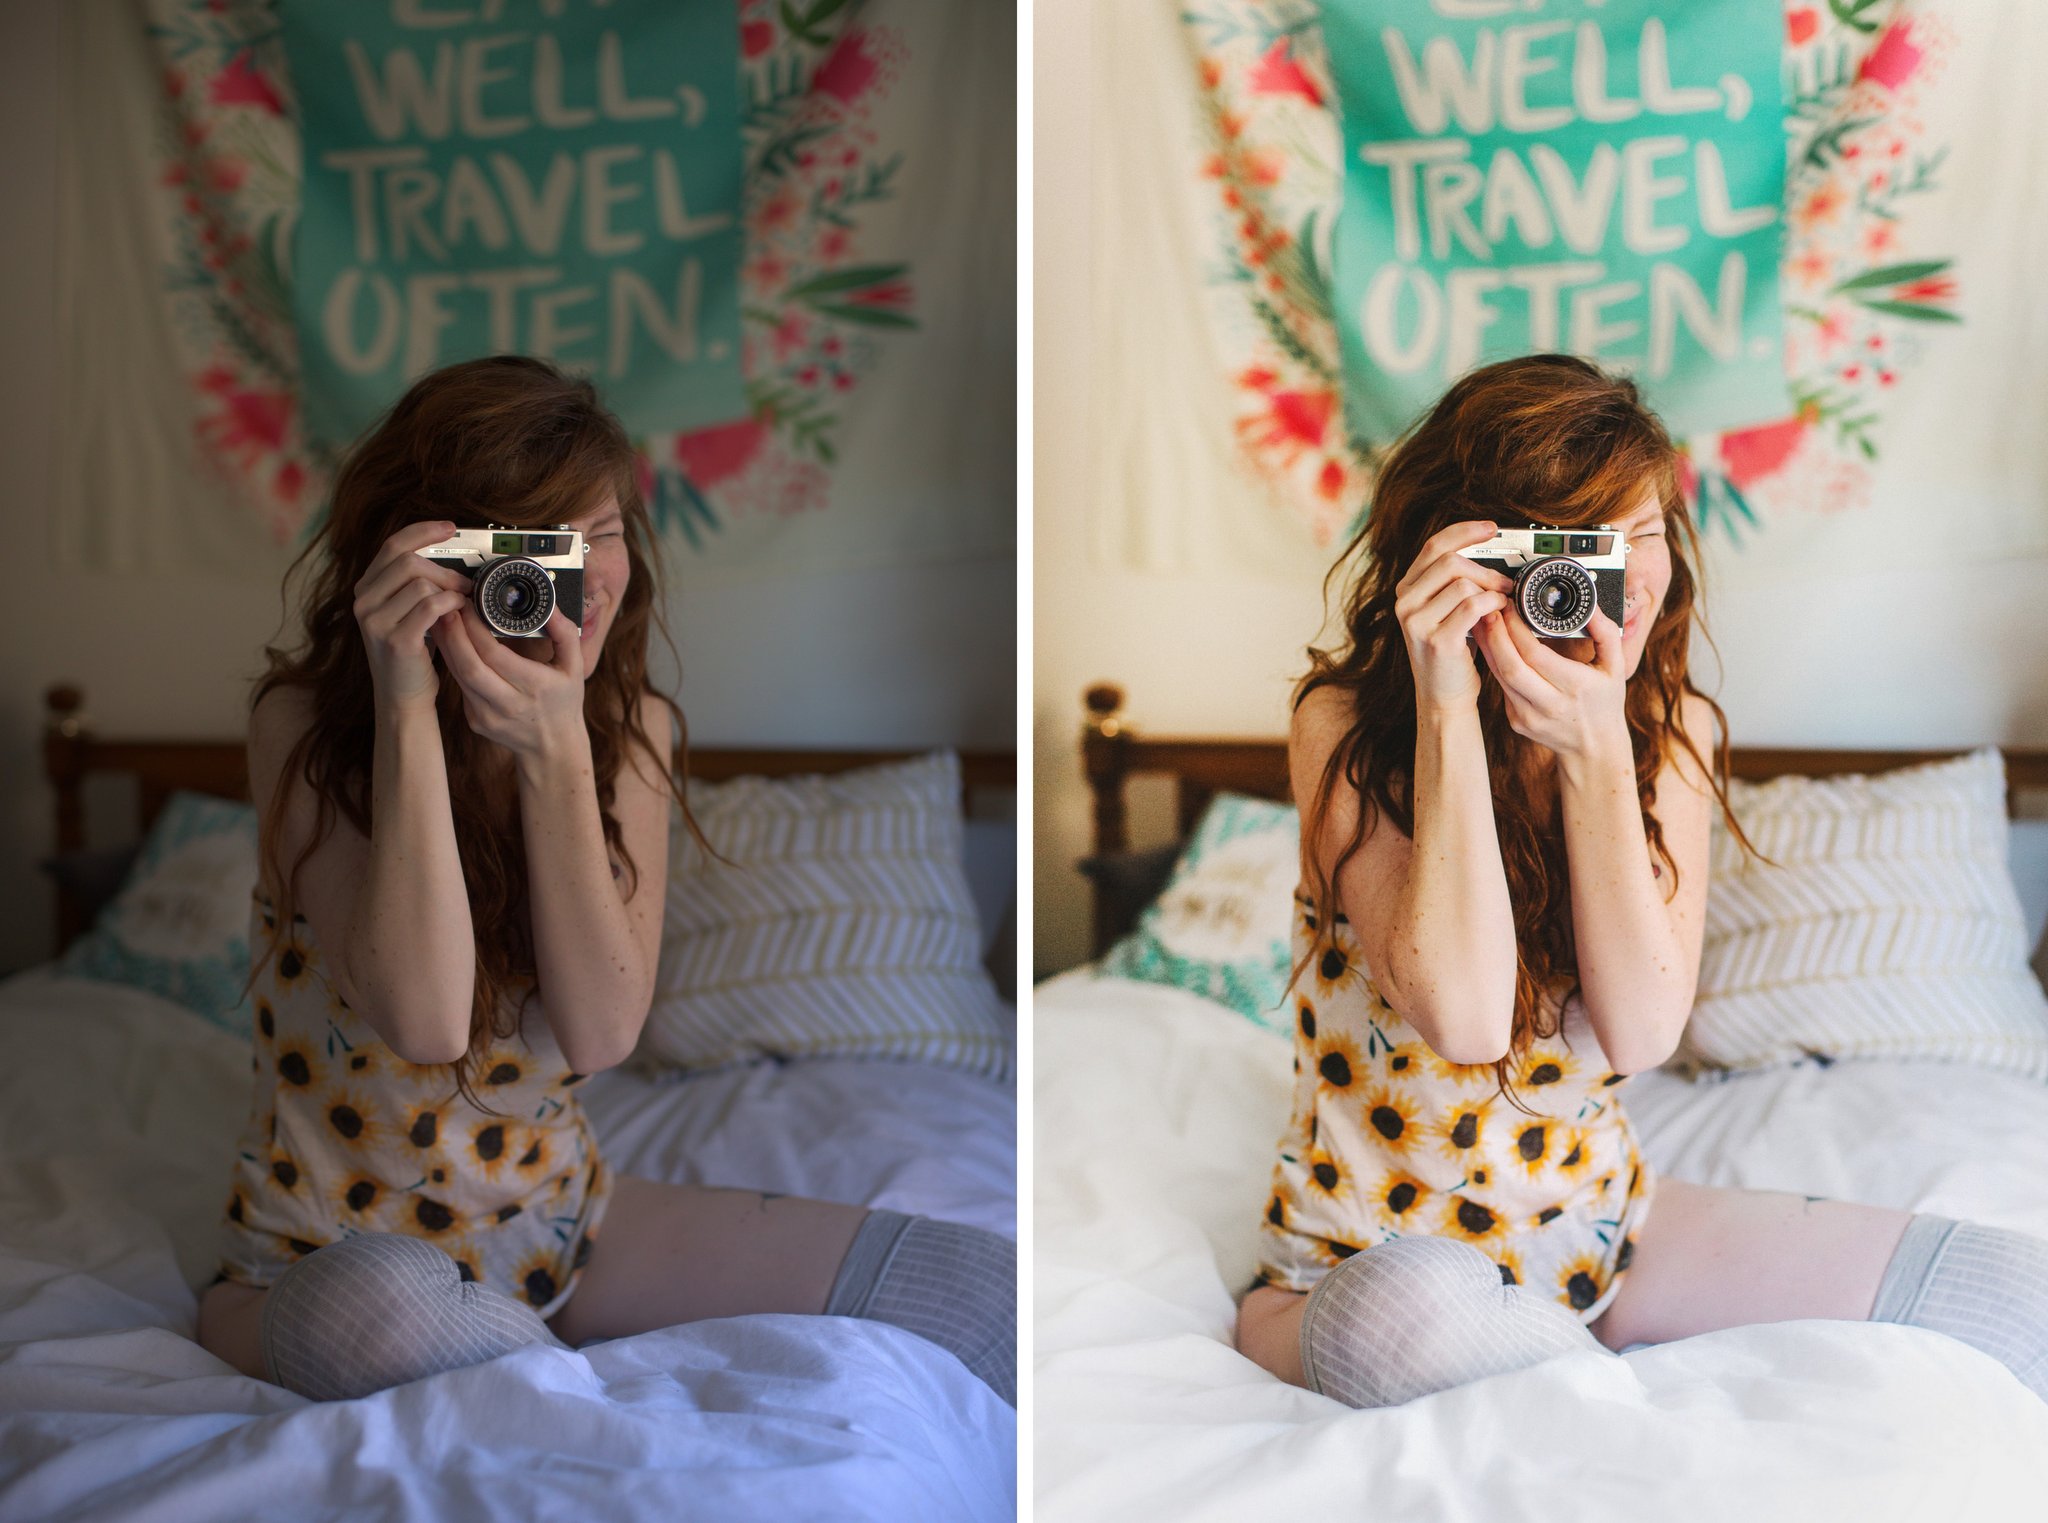
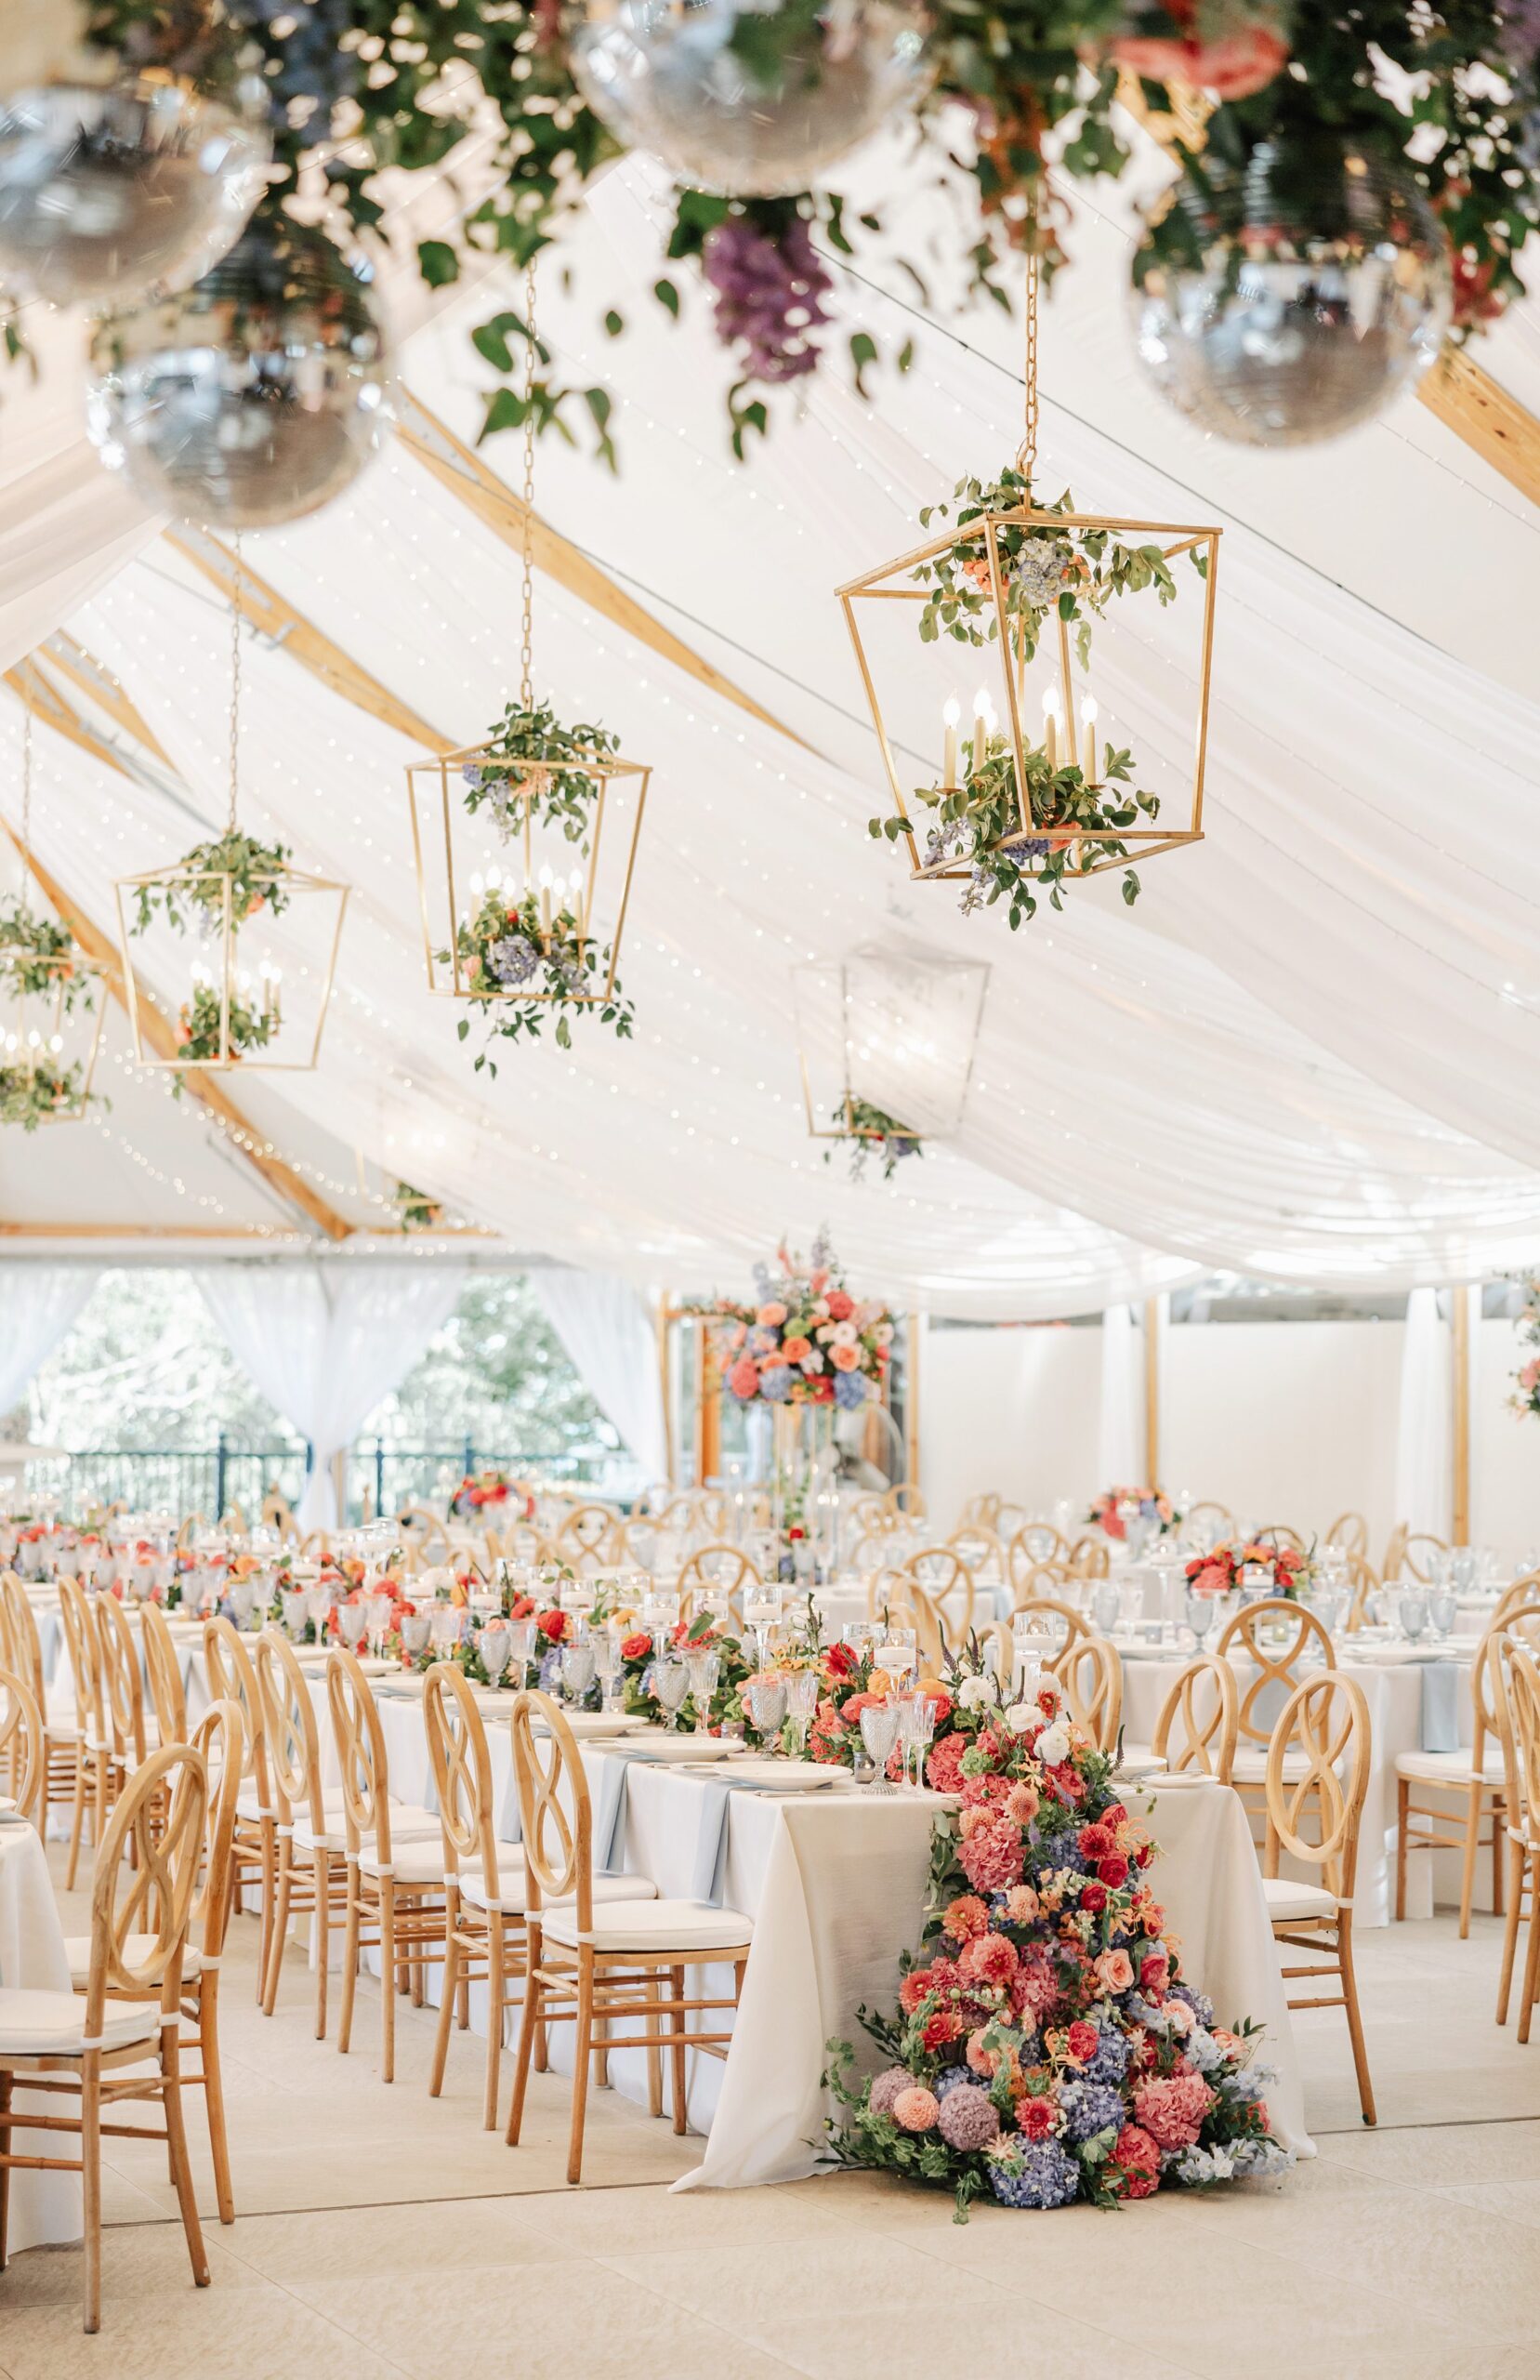
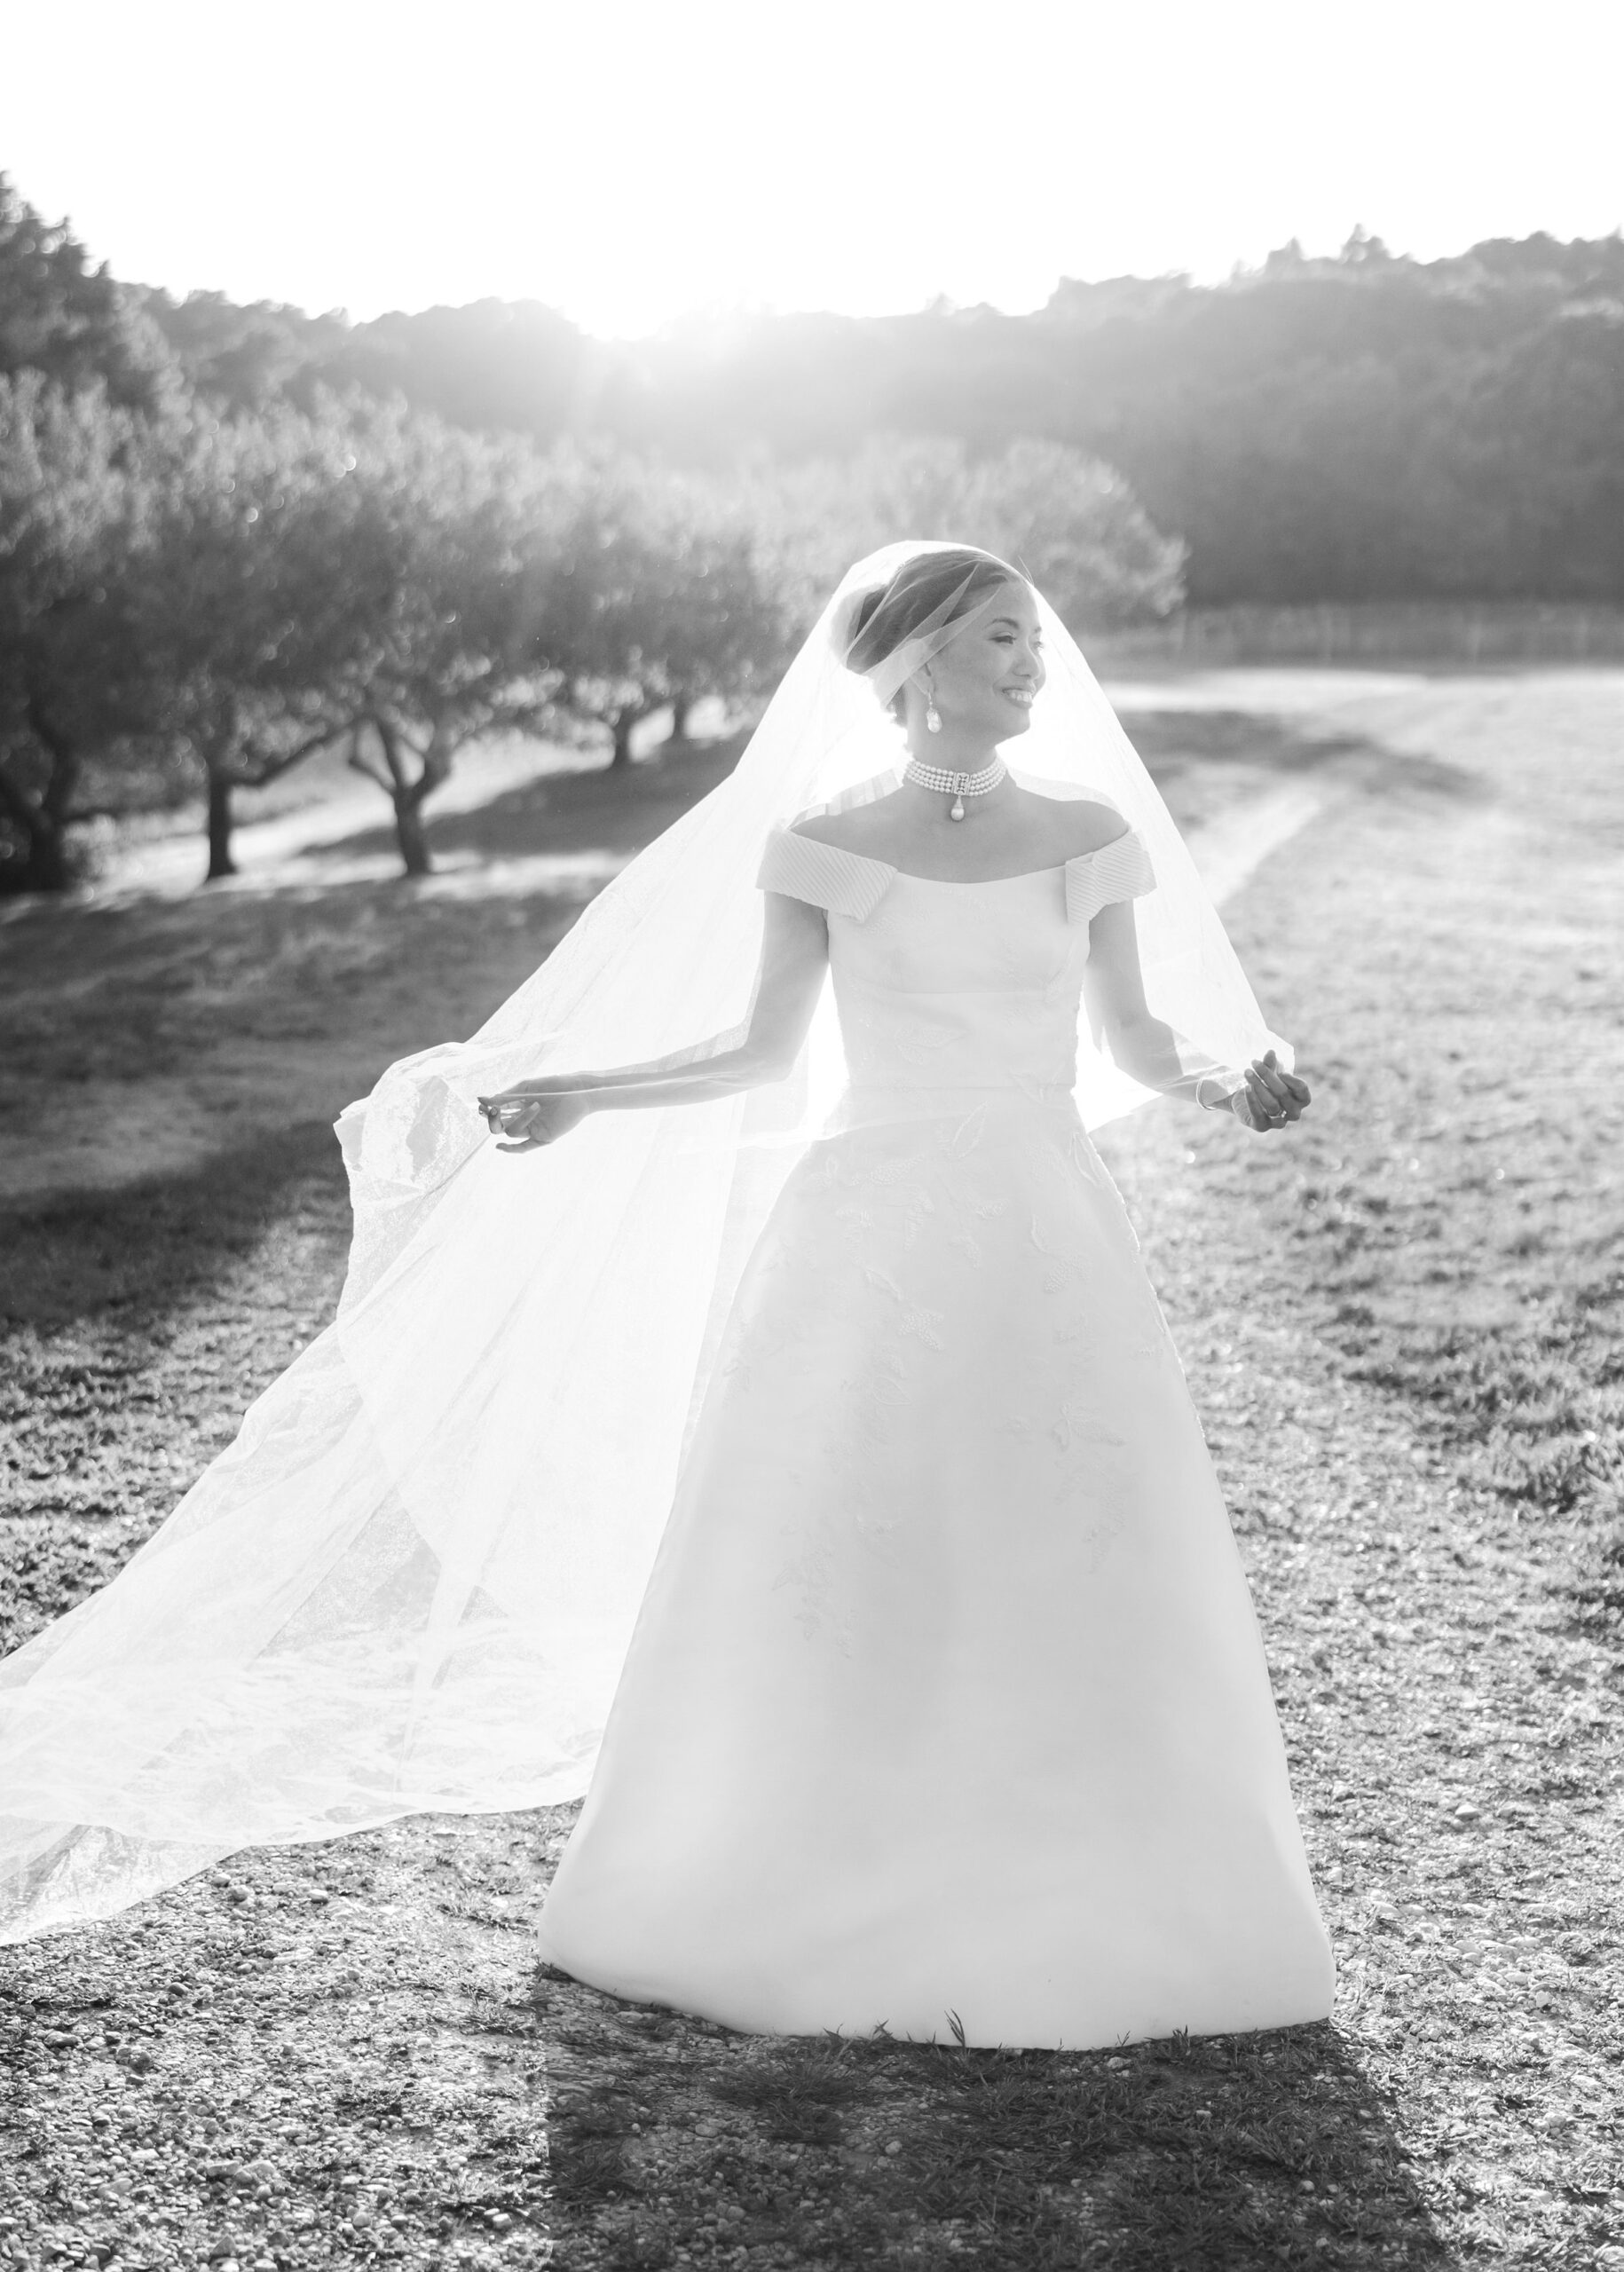
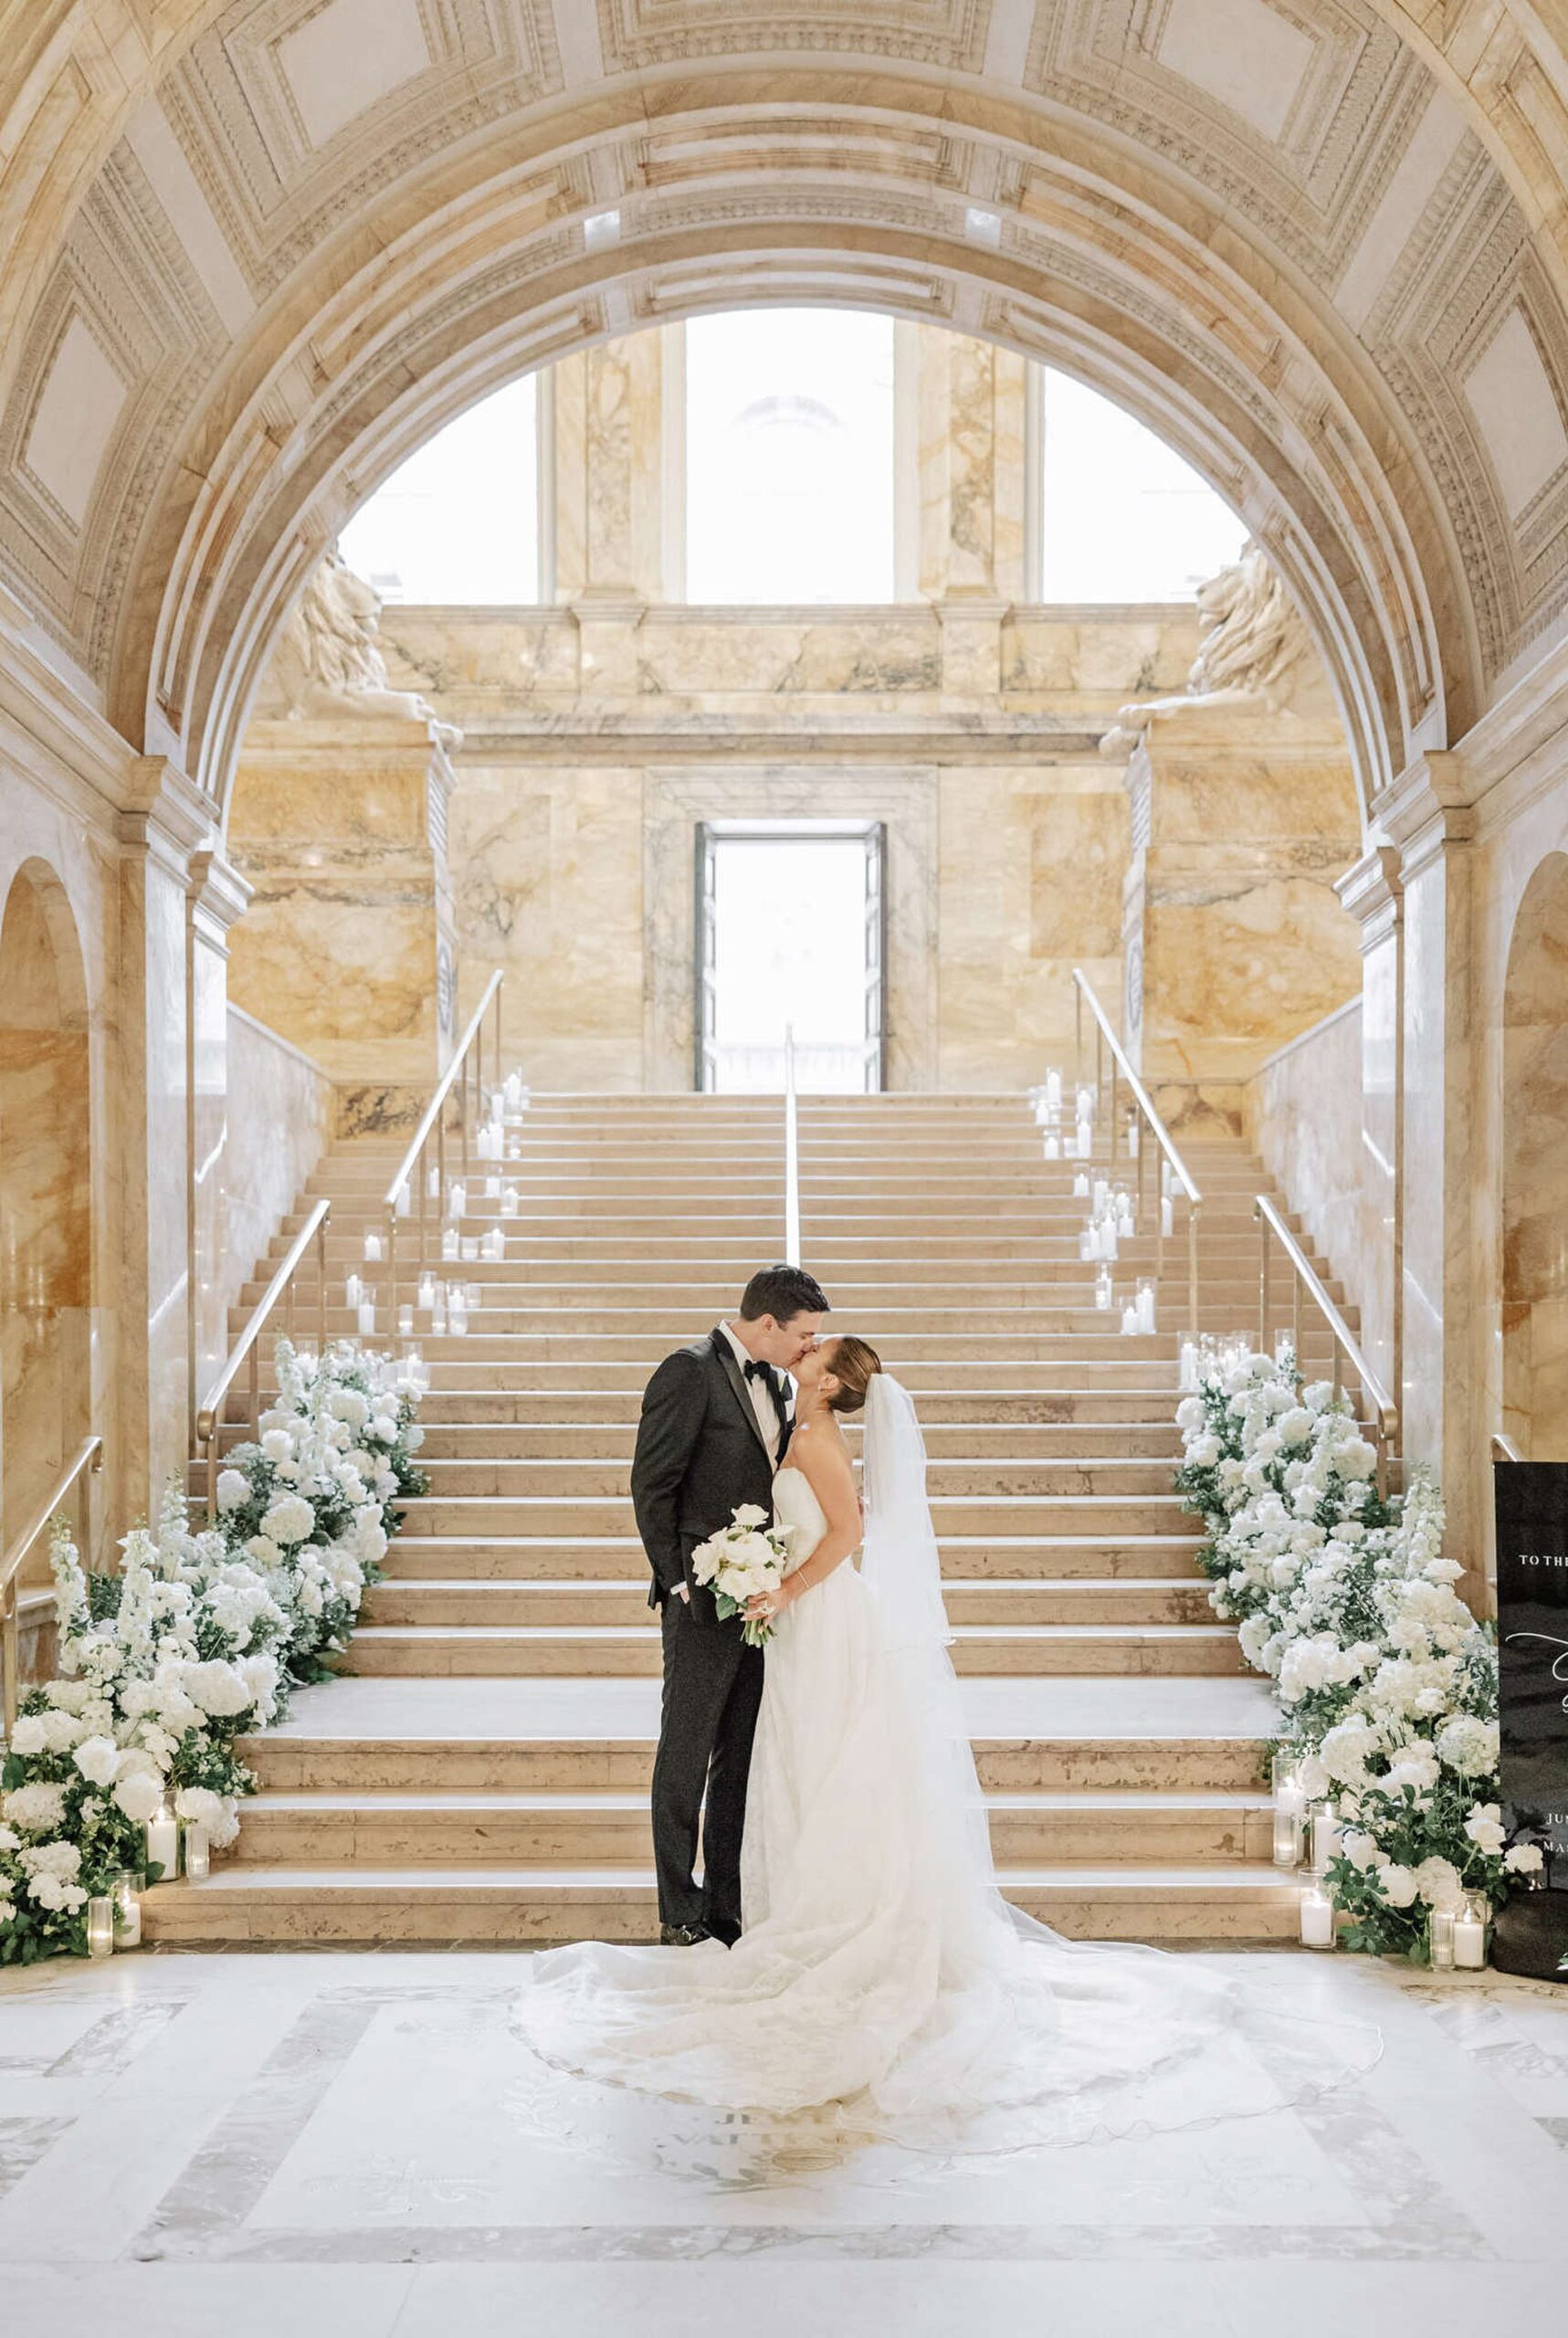
Have you ever looked at someone’s photograph and wondered, “Did it really look like that out of the camera, or was it in post-processing?” Well, today I’m opening my work station to you guys to share my not-so-secret before & afters and how I did them!
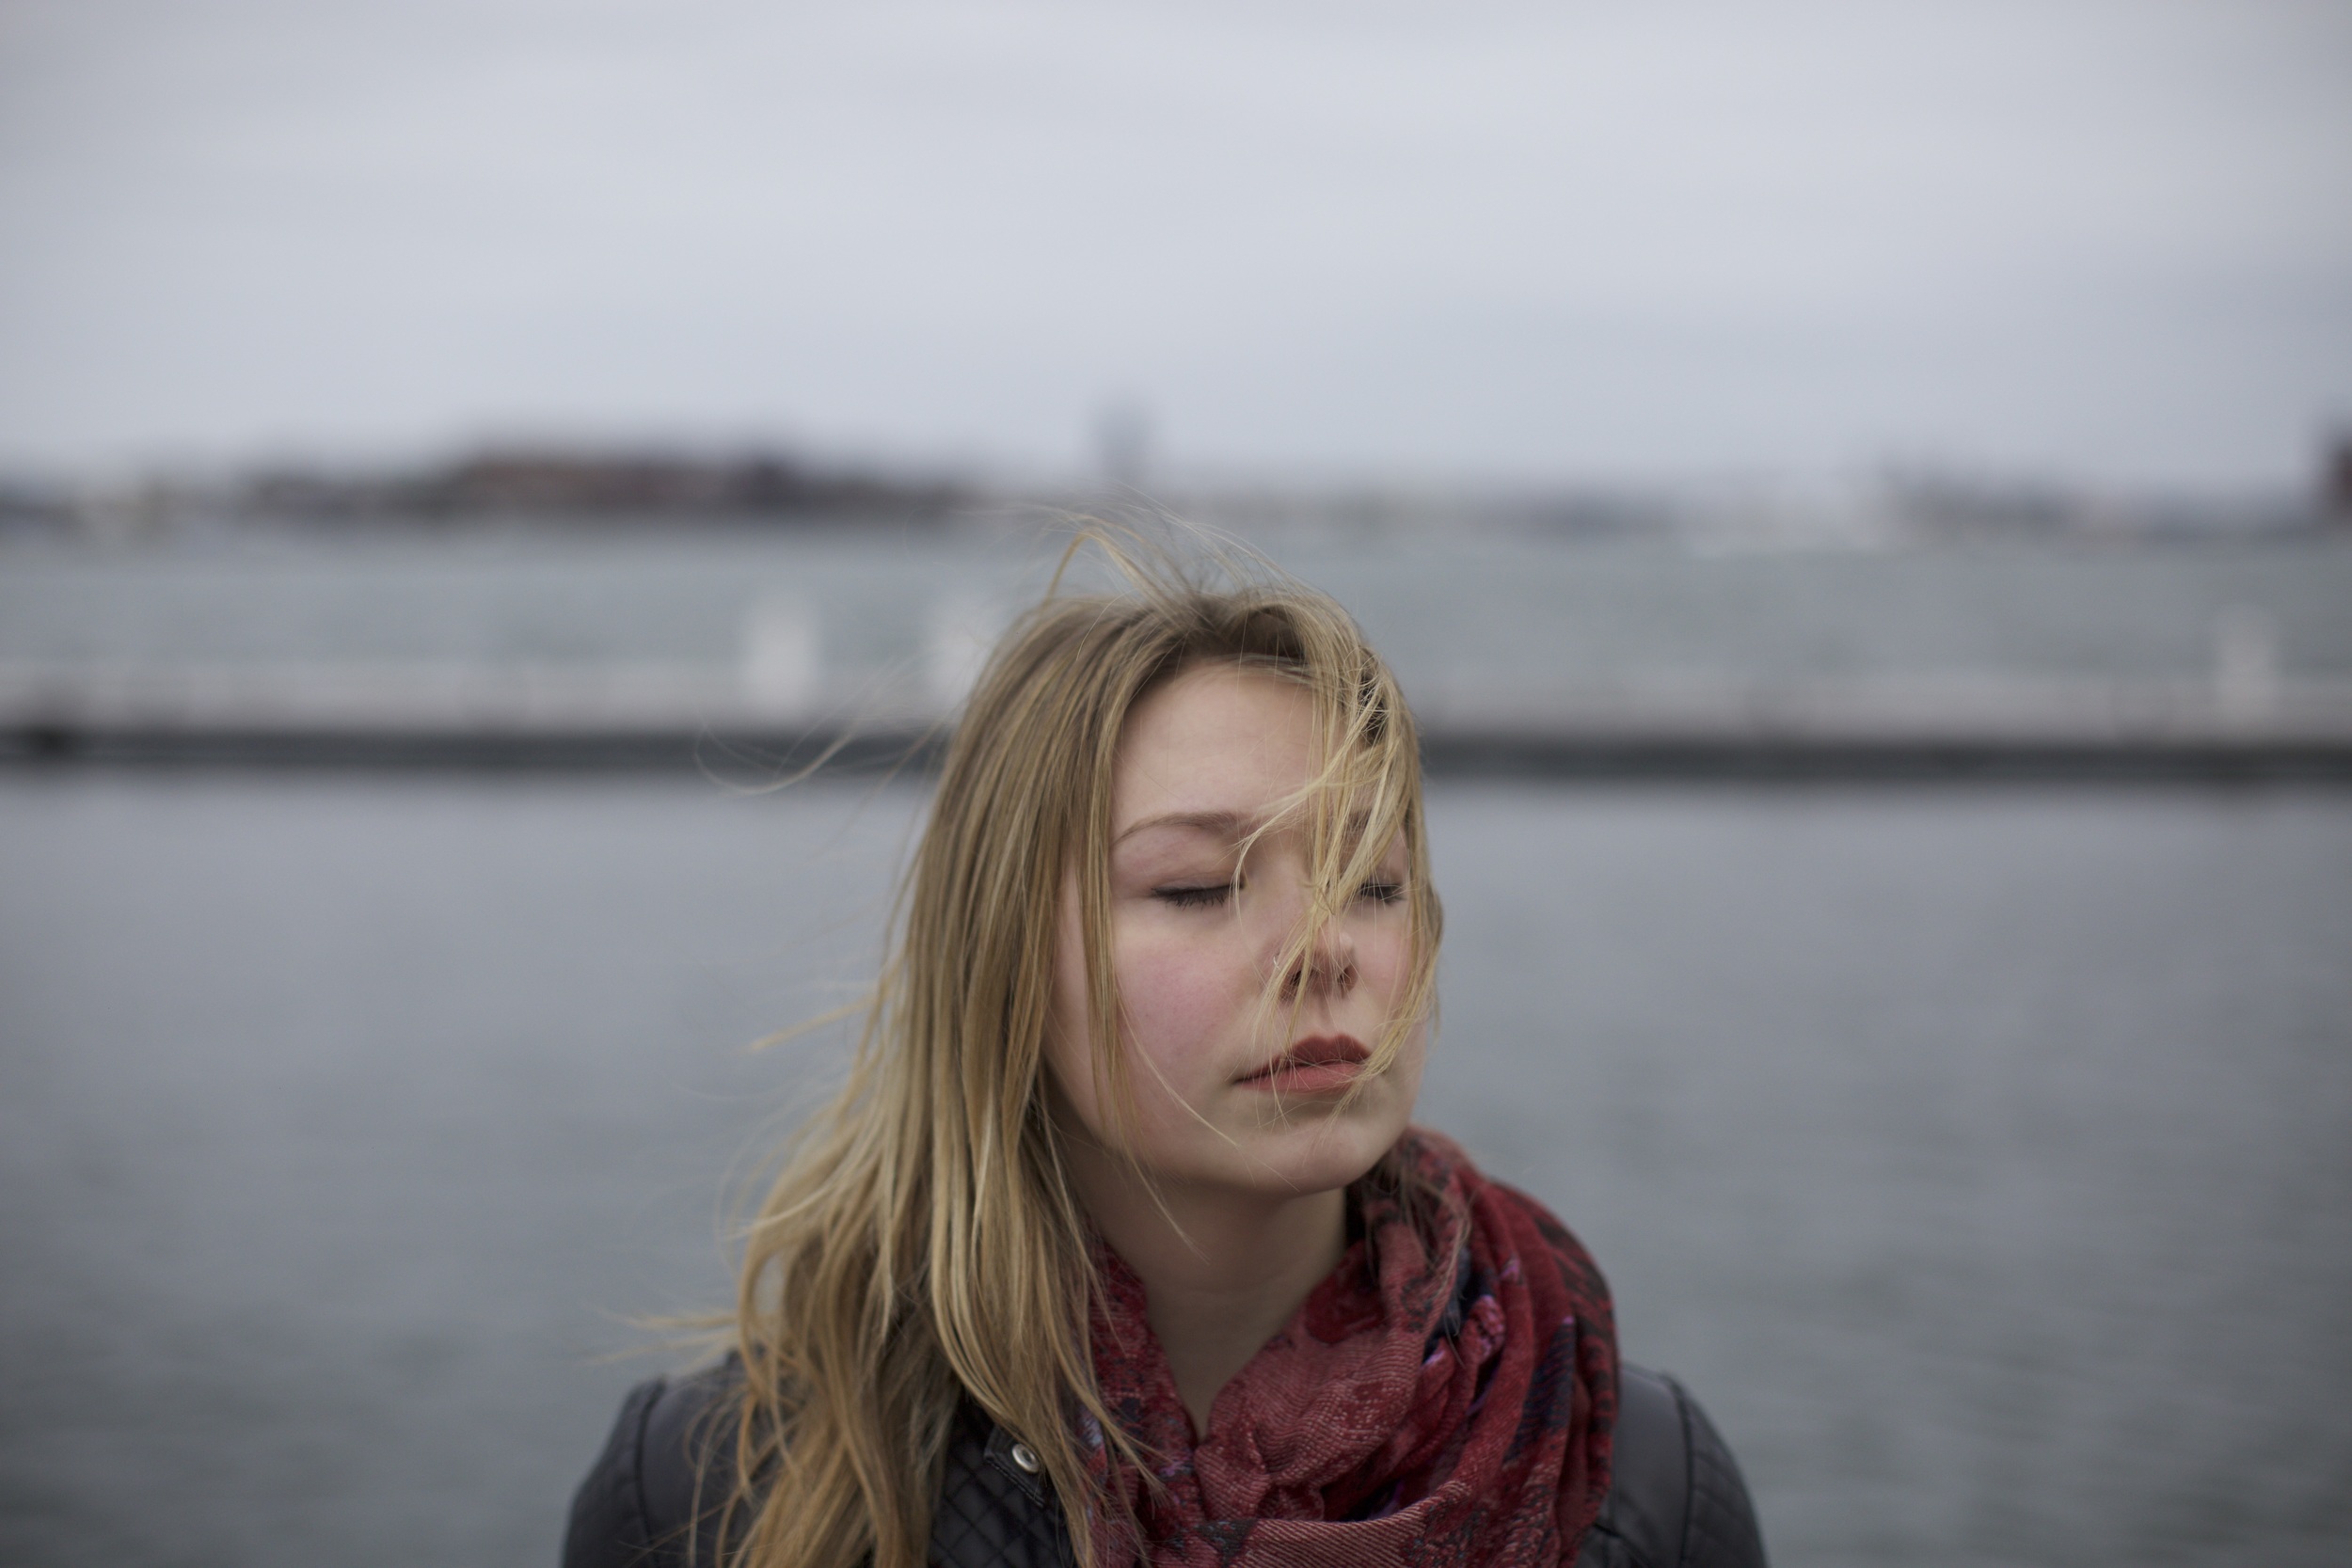
(For mobile users, tap once for before/after rollover!)
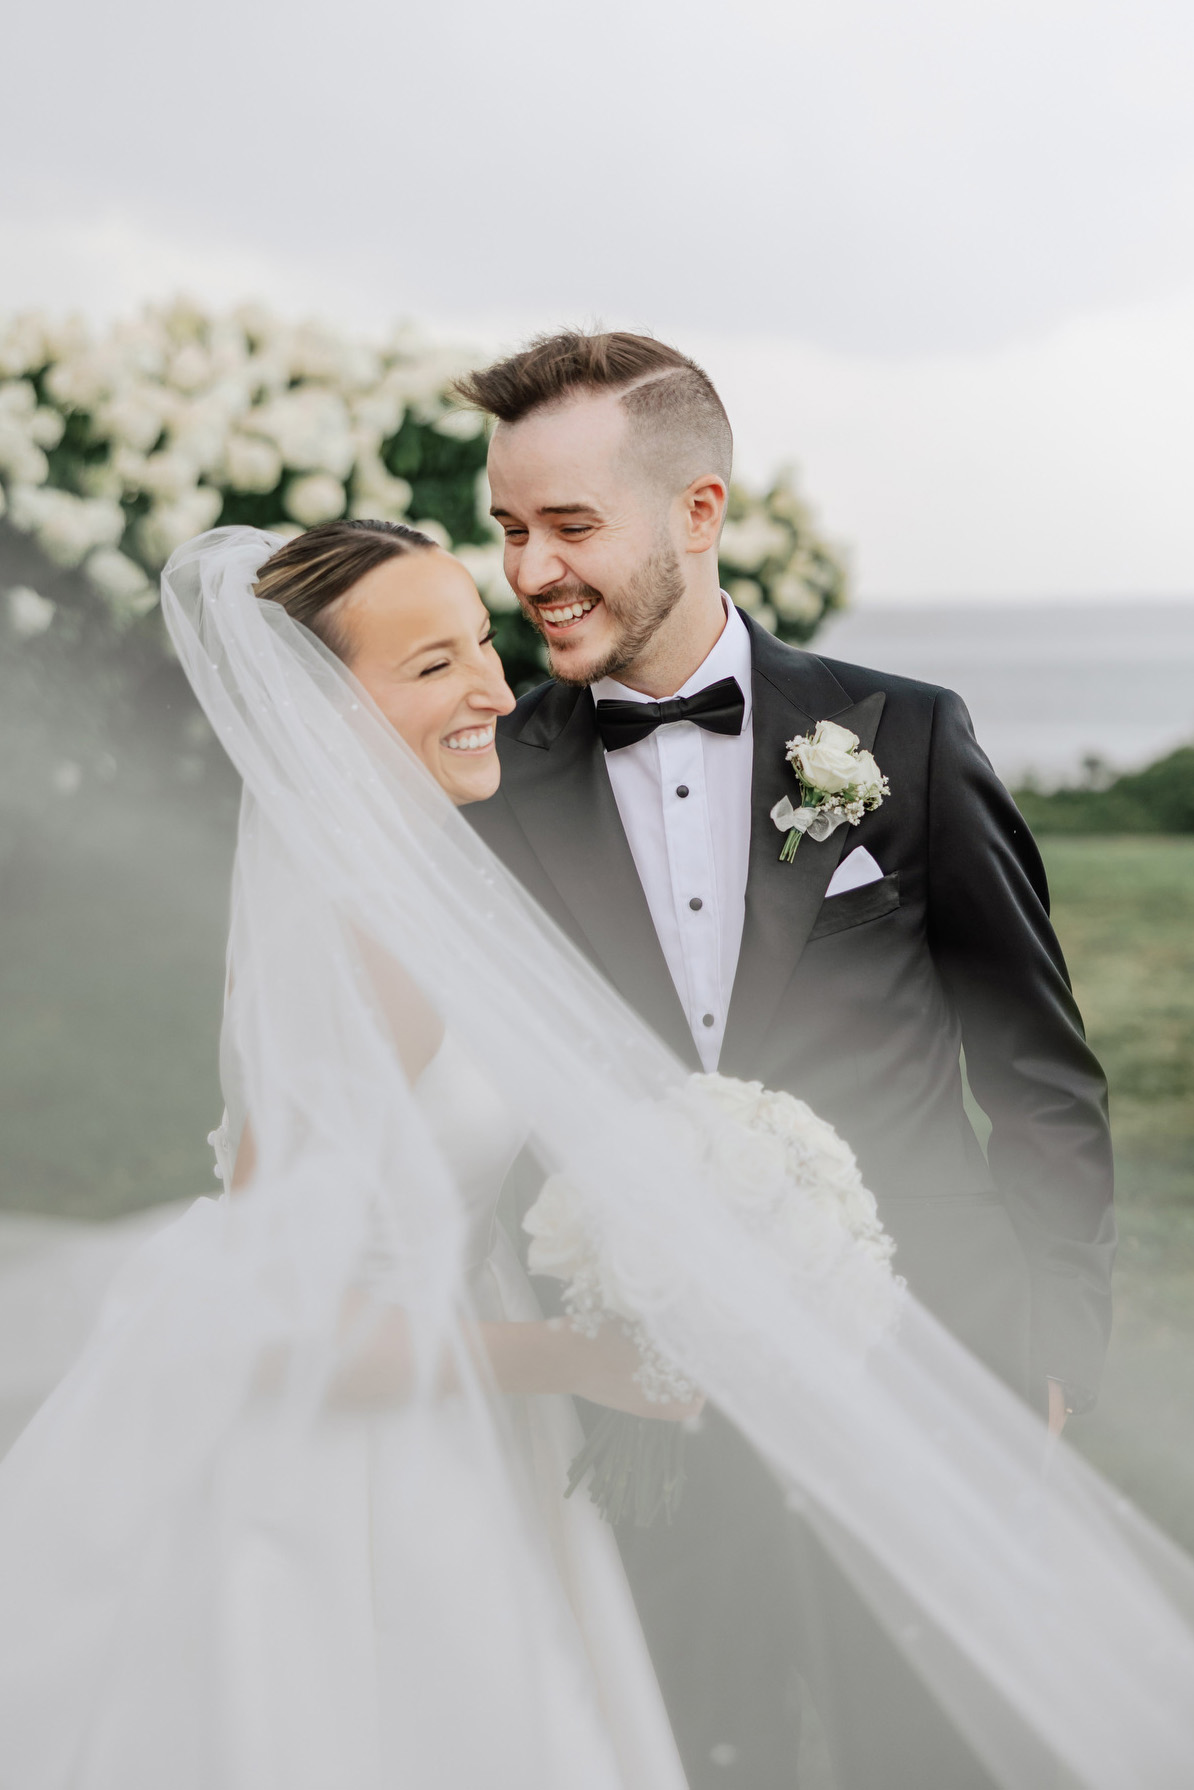
This image was taken around 2:30pm on a cloudy day. The first thing I did was open the RAW file in Lightroom. I applied the Kodak Portra 400+ preset on it from VSCO Pack 01 – what I use 99% of the time. I love the dreamy look of film and the way Portra handles greens and skin tones. I adjusted the exposure, contrast, color luminance sliders, clarity, and applied a bit of lens correction.
Then, I opened it in Photoshop. I removed the dock going straight through Julia’s head – it’s a huge distraction. I carefully brought back some of the wispy hairs on her left side, because after they were gone, I realized that they really gave the photo character. I applied my own contrast + exposure action to the photo. I like bright + airy images.
I added a light leak/distortion to the photo to break up the symmetry. I do this once out of ~2,000 photos, but it was one of those creative photos I knew I wanted to make a little more visually interesting. Lastly, I did one more batch of color adjusting, straightening the horizon, and sharpening.
Canon 5D Mark III + 50mm 1.2
ISO: 400
Exposure: 1/6400 sec
Aperture: 2.0
I’m all about clean + simple edits, so 99% of my work is edited within a few minutes per photo. When I’m done with a really great photo, though, I ask myself, “How can I make this better?” And then maybe I’ll clone out leaves on the ground, remove distracting background elements, give eyes a pop, or adjust the color balance one last time.
Secret:
The most important thing I learned while working in the darkroom studying under Nick Nixon was to preserve detail in the highlights and shadows. No black holes, no blowouts.
